Dear Readers,
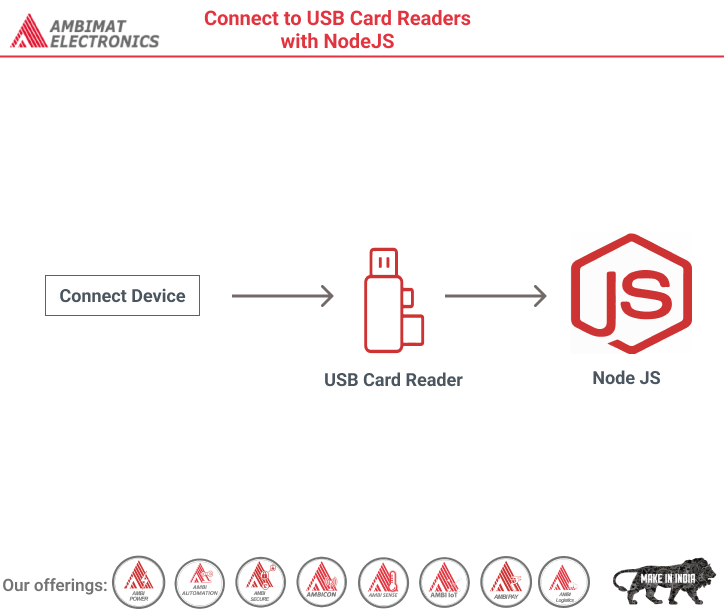
A really handy thing to be able to do is to control USB devices using JavaScript. This is a powerful capability, made easily possible by NodeJS (better known, simply, as Node). To get Node, go here.
Node is an increasingly vital piece of infrastructure for companies that do business via the Web. You’ve heard of many of the companies I’m talking about. (Check out their logos below.)
Most companies that use Node run it on the server side. But it’s easily possible (and definitely worthwhile) to run it on the client side, too.
Unlike scripts written for web pages, scripts that run on Node have no security restrictions that would keep them from performing file I/O, opening network connections across domains, shelling out to the OS, or calling native code modules, among other things. Since they’re unhampered by “sandbox security” restrictions, scripts that run on Node can do amazing, powerful things that browser scripts could never do.
Companies that use Node for critical infrastructure.
When I wanted to connect to ID TECH’s USB-based credit card readers using JavaScript, I looked to see what kind of USB connectivity modules might already exist for Node. Turns out there are several. I chose one called node-hid, which is based on the cross-platform HIDAPI library.
I chose node-hid mostly because of its brain-dead-simple API, but also based on the fact that it installs super-easily. Just fire up a command line console and run npm install node-hid. Node’s npm package manager will go to work downloading all the bits you need from the Web, and it will resolve dependencies and build binaries automatically. (Allow a minute or two for this.) When you’re done, you’ll have the ability to put require ‘node-hid’ in your Node scripts and connect to USB devices!
Below is an example of a script you can run with Node (and node-hid) that will let you connect to USB devices having the ID TECH vendor ID (hex 0xACD):
We want to inherit the methods of Node’s EventEmitter class (so that we can emit custom events). Therefore we start right out by declaring a class that extends EventEmitter. (Note that Node allows the use of EMCA 6 class-declaration syntax.)
We have a poll() method (near the bottom) that uses setInterval() to start an endless polling cycle that has us checking the device list once every two seconds. The cycle() method carries out our poll. It checks every connected device using two ‘if’ statements. The first ‘if’ says: If any device with the ID TECH VendorID (0x0ACD) is found, and we’re not already connected to a device of interest, we go ahead and try connecting to the device. The second ‘if’ says: If the poll finds no ID TECH device and yet we already have a non-null deviceRecord, it means the record is stale because the device is unplugged. (Hence we pop a ‘usbdisconnect’ event.)
The USBProvider emits ‘usbconnect’ and ‘usbdisconnect’ events, plus ‘data’ events. When you get a ‘usbconnect’ event, it’s important to realize you’re being passed the deviceHandle for the connected device. You need to store a reference to that handle right away, so you can later use it to write to the device. But there’s also another thing you need to do right away, which is register your data handler. This lets you read from the device. (Reading happens via ‘data’ events.) Register your ‘data’ handler at connect time.
Code that uses the USBProvider class might look similar to this:
Notice that we can easily get a hex string version of our data using toString(‘hex’). That’s because the data is in a Buffer object. The Buffer object is not a JavaScript array.
Elsewhere in your code, you can write to the device very easily, as follows:
deviceHandle.write( cmdArray );
The cmdArray isn’t a Buffer object. It is simply a JavaScript array containing integer values.
But don’t forget, you can’t connect to anything at all unless you start up the poll() method! So after setting up your event handlers and initializing your code, remember to begin polling:
usb.poll(); // Be sure to do this! This starts auto-detect & connect
With the various bits of code shown above, you’ll be able to read and write USB-based ID TECH devices in no time. And if you want, you can use Node’s wonderful Websockets capability to send USB data straight to the browser, so that your HTML page can control your payment device. I’ll have a lot more to say on that very subject in future posts. So check back here soon!
About Ambimat Electronics:
With design experience of close to 4 decades of excellence, world-class talent, and innovative breakthroughs, Ambimat Electronics is a single-stop solution enabler to Leading PSUs, private sector companies, and start-ups to deliver design capabilities and develop manufacturing capabilities in various industries and markets. AmbiIoT design services have helped develop Smartwatches, Smart homes, Medicals, Robotics, Retail, Pubs and brewery, Security.
Ambimat Electronics has come a long way to become one of India’s leading IoT(Internet of things) product designers and manufacturers today. We present below some of our solutions that can be implemented and parameterized according to specific business needs. AmbiPay, AmbiPower, AmbiCon, AmbiSecure, AmbiSense, AmbiAutomation.
To know more about us or what Ambimat does, we invite you to follow us on LinkedIn or visit our website.
References:-
https://www.geeksforgeeks.org/how-to-access-usb-devices-from-node-webkit/


